It’s been three years now since I started printing black and white silver gelatin prints in the darkroom. I’m quite pleased with my abilities turning my negatives into the images I visualized while shooting. Also there are few things I like more than spending hours under the red light, being organized and methodical. It’s a mutually rewarding process that encourages me to keep on making photos.
In this time I’ve learned a lot from the help of good friends as well as from my own struggles. Coming from more than ten years of doing digital photography and printing in controlled environments with beautiful cotton paper I could never settle for mediocre prints. I kept on pushing the limits of the negatives and sometimes understanding that if I wanted a different outcome I should have changed something in a previous stage, this be choosing the right film, shooting differently and developing. Things have gone better and more consistent over time, but I felt it was that September was the right time to go back to basics and revisit key elements that could help me get more consistent results.
My setup
Very briefly, but to give some context: I own two cameras, a Rolleiflex 3.5F and a 35 mm Contax 139 Quartz, both with light meters. I didn’t own a light meter and despite my Rolleiflex’s is consistent with the Contax and some light meter apps, I decided to get myself a Sekonic 308S light meter, so I can also use flash with my digital cameras. More on tha last idea in the future.
Previous problems
Underexposed negatives
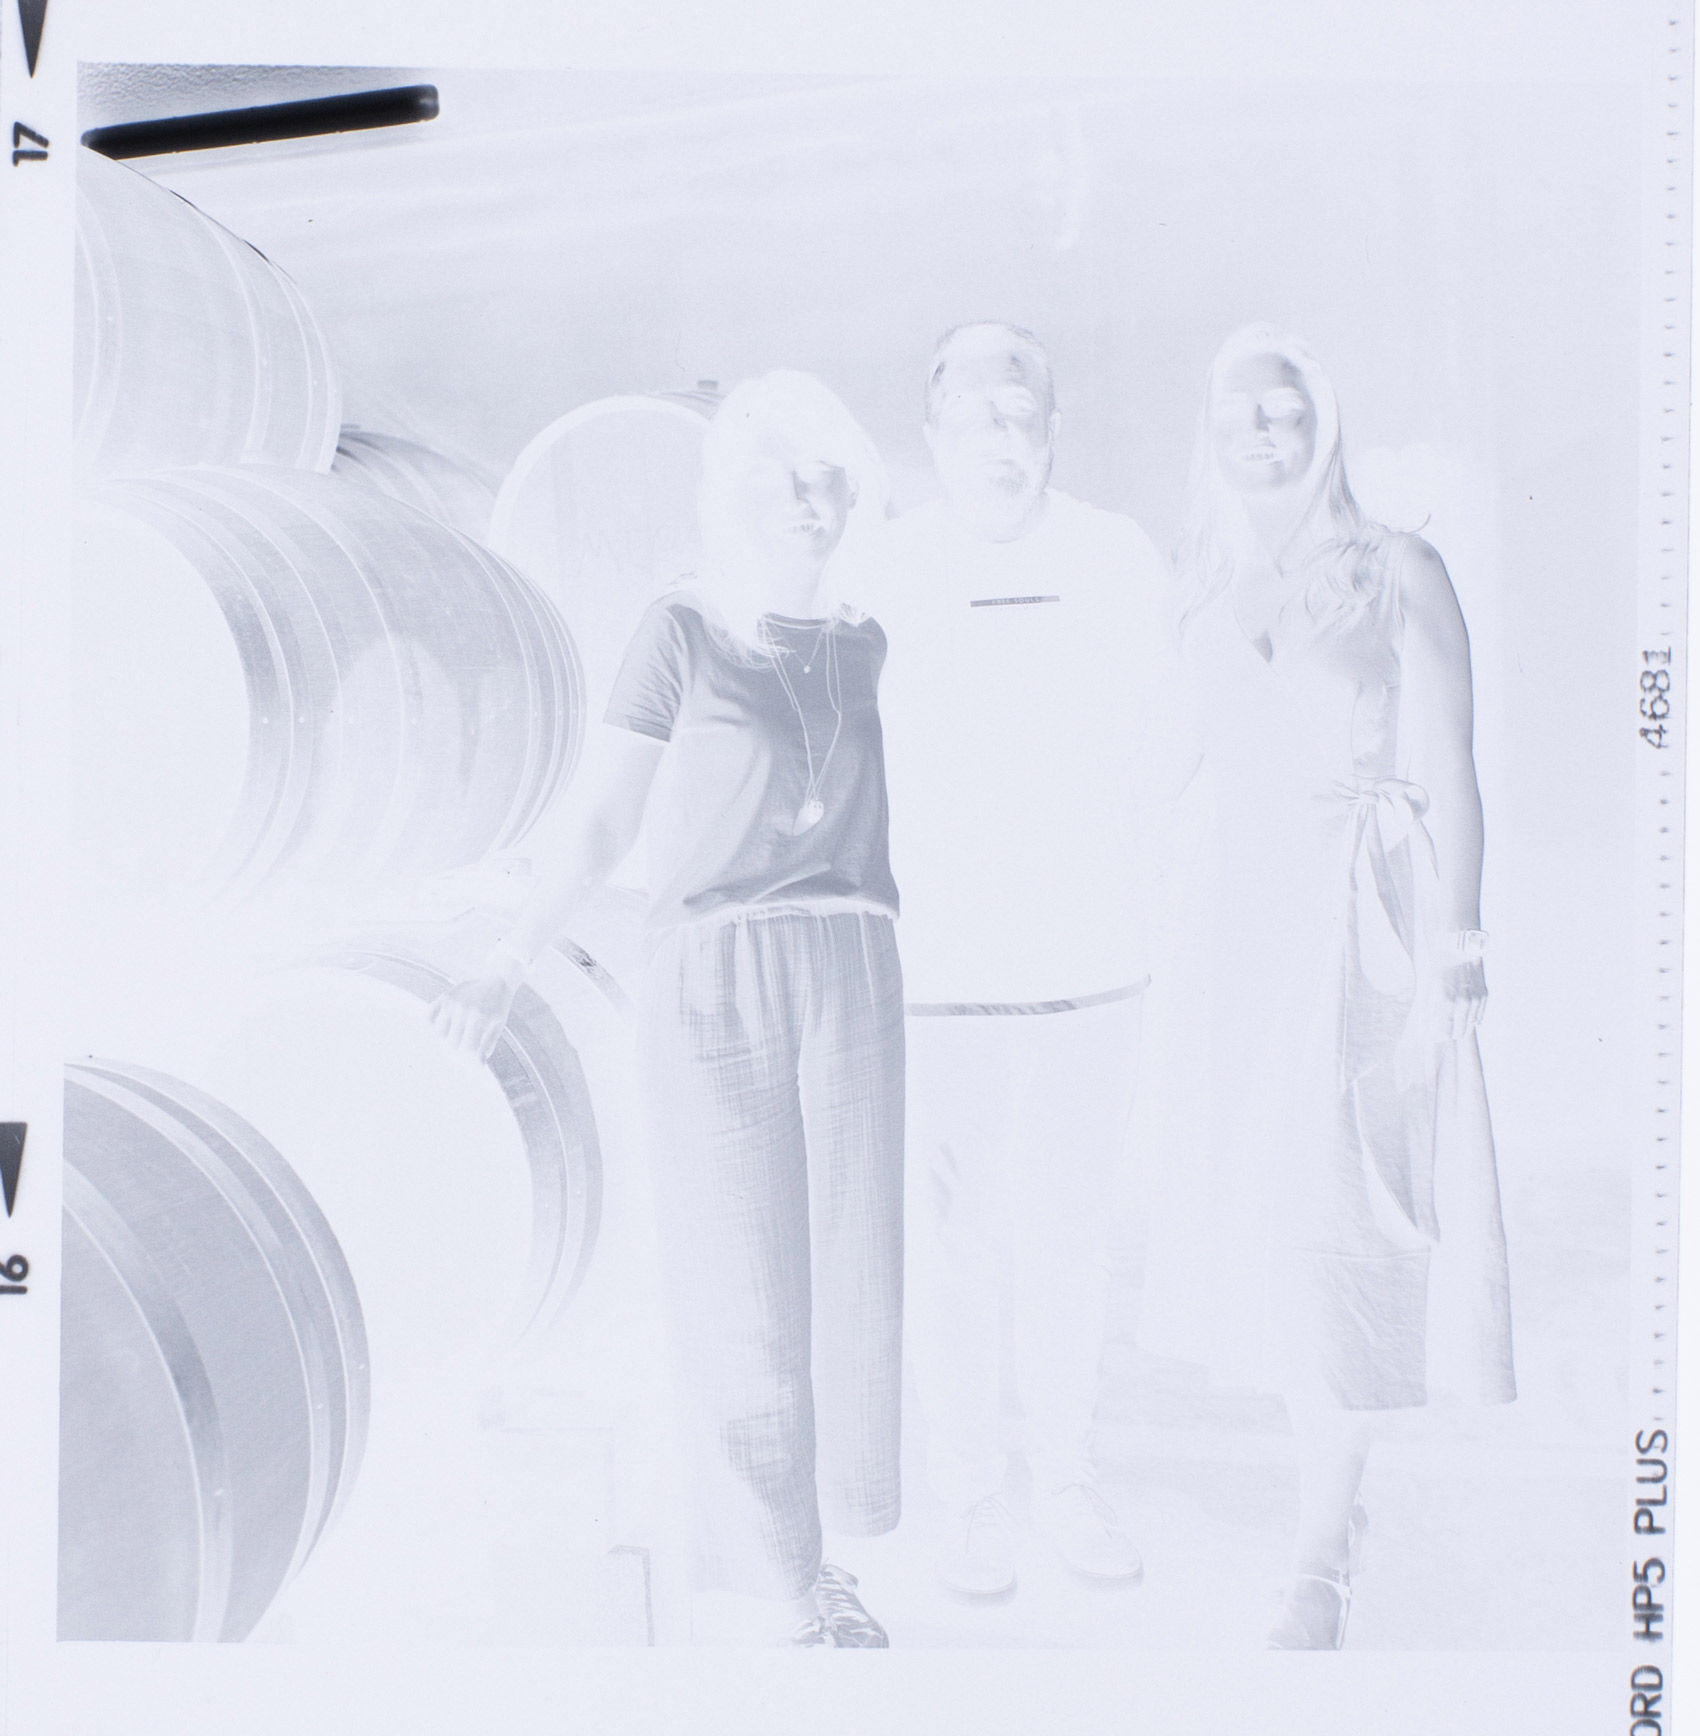
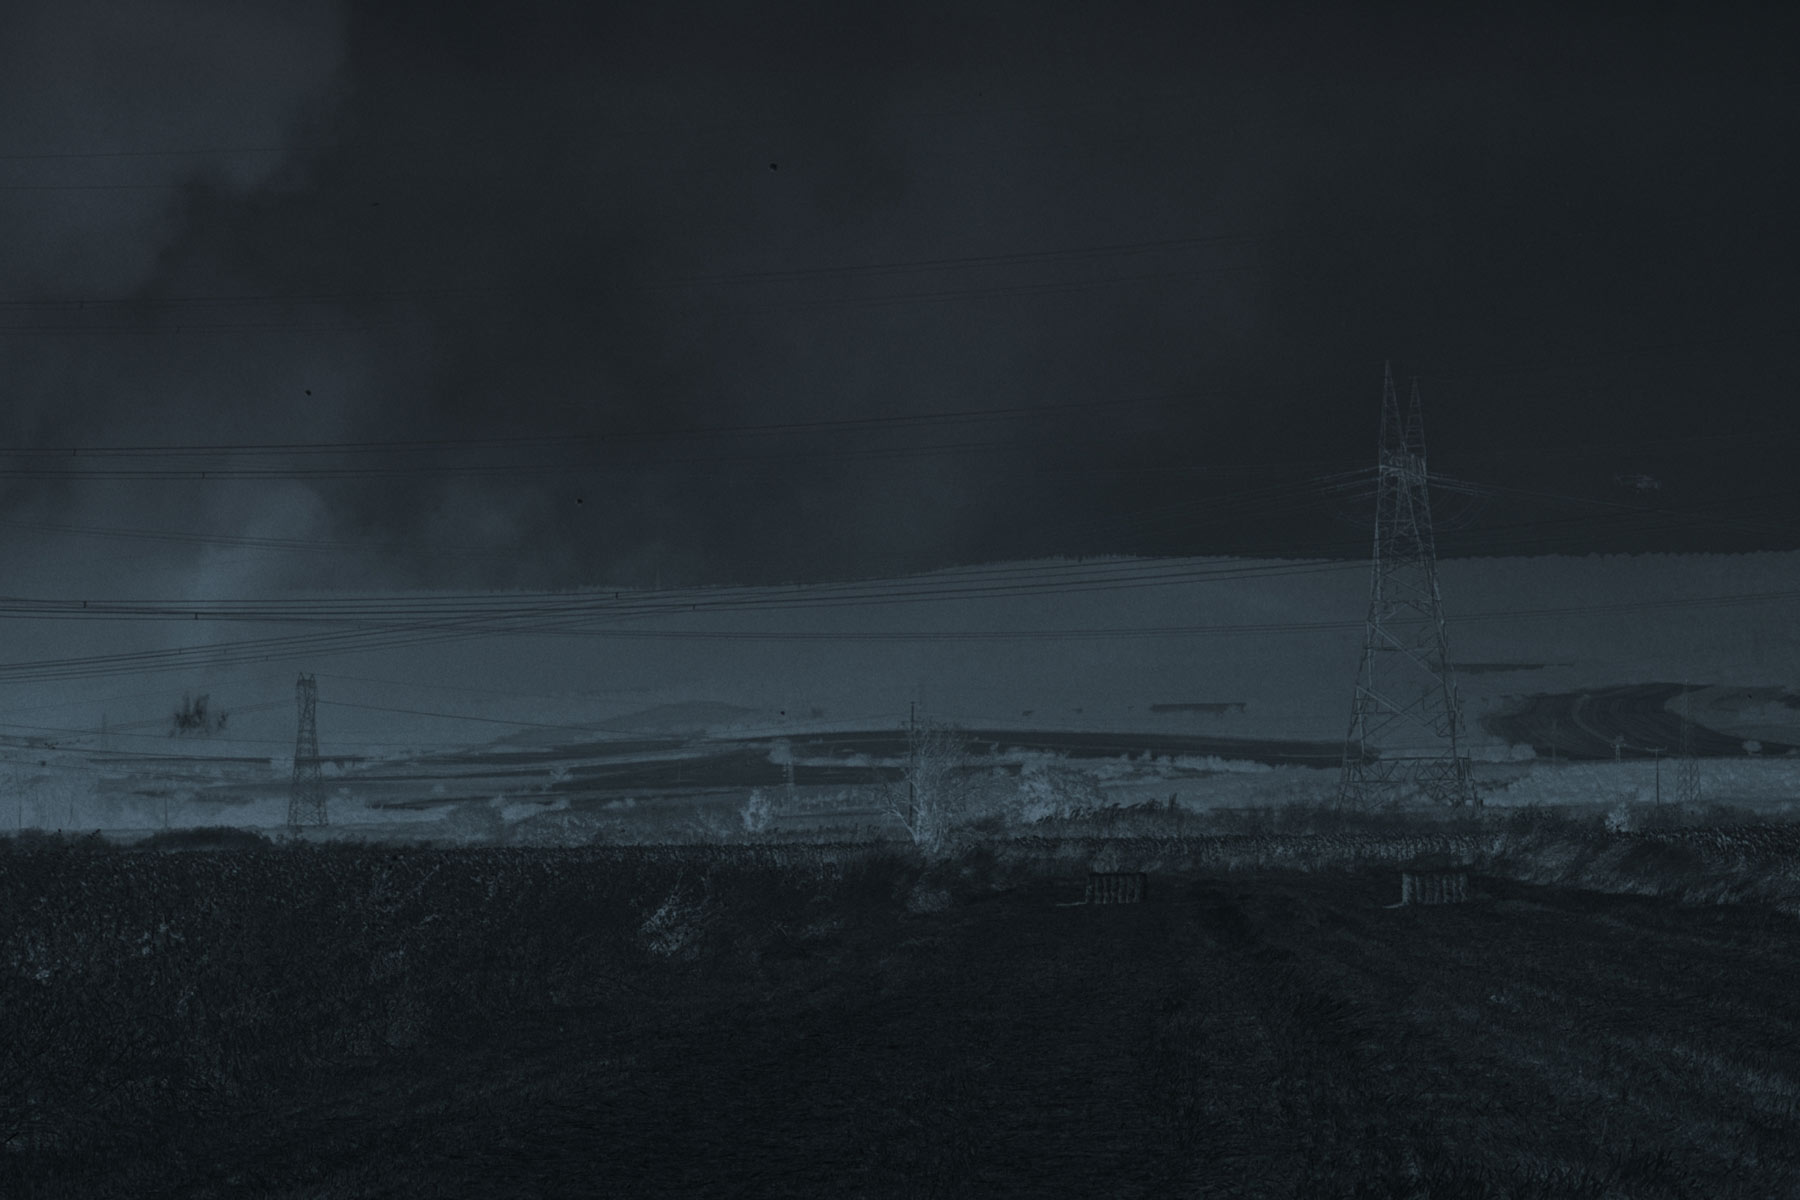
Coming from the digital world I wasn’t aware of the importance of capturing information in the dark areas at the beginning of my film practice. It was not a big issue when I was outside, since I mostly shot photos in a sunny environment. But when the time came to shoot important photos indoors I did commit some mistakes. First, the Rolleiflex light meter is very hard to read when we have a dark environment. I know that some other models have a button to help you measure in those scenarios, but not mine:

In a low light scenario 3 stops of difference is huge and hard to spot.


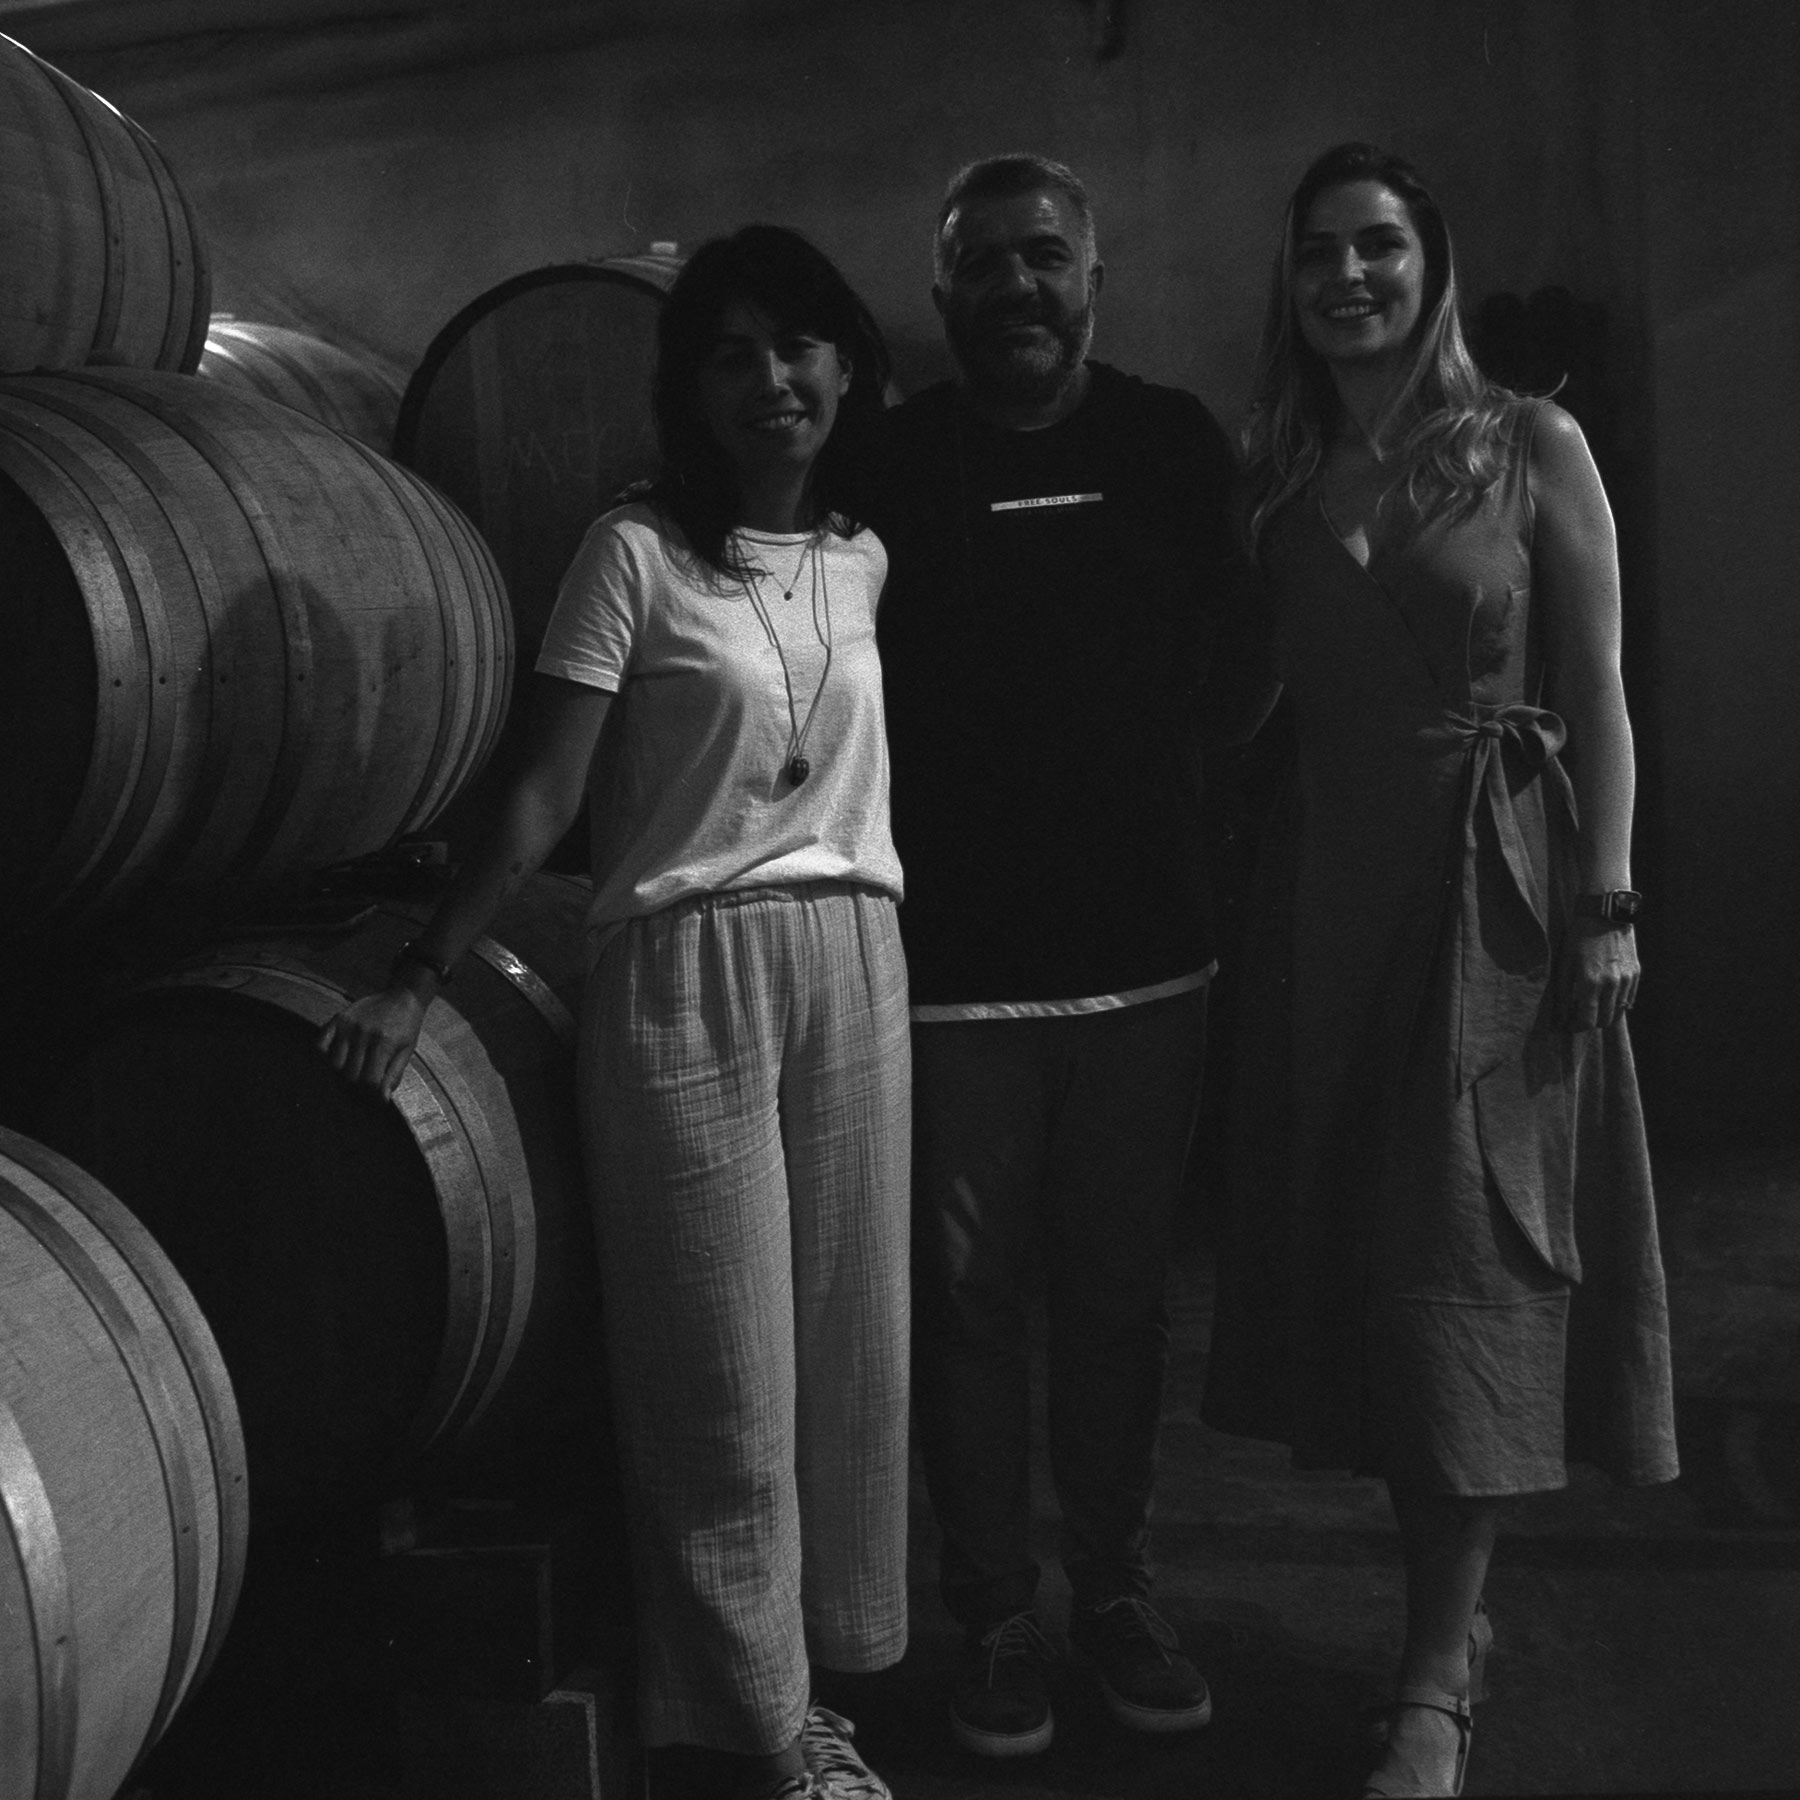
Some of my underexposed negatives and their digital postive versions. These aren’t the prints
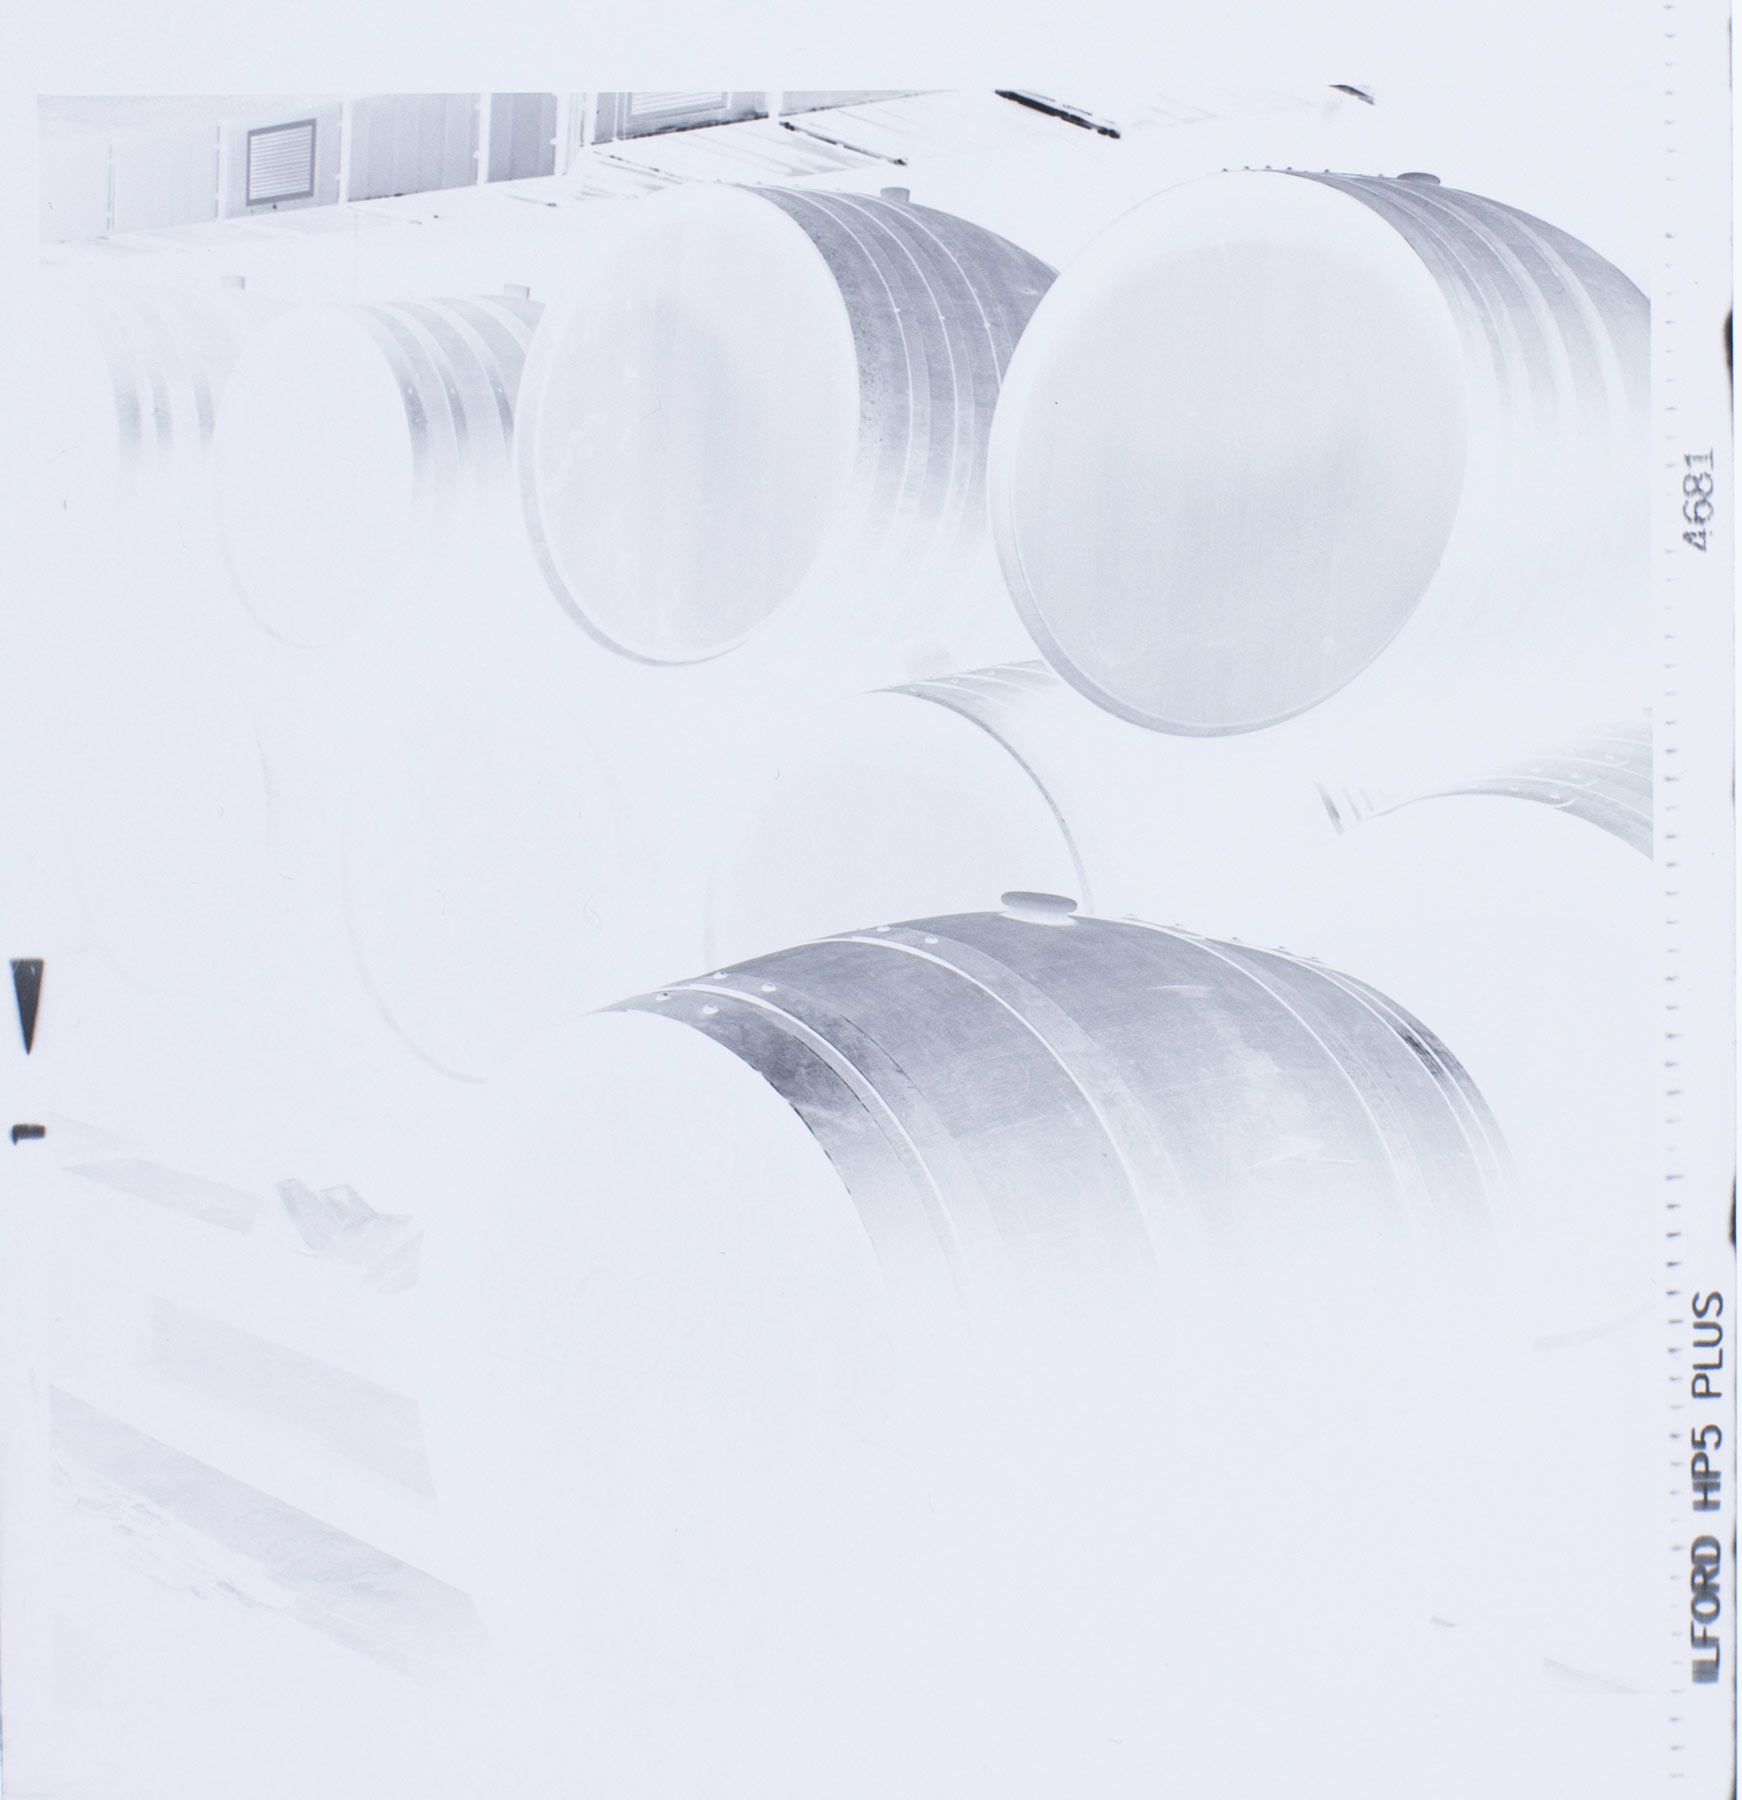
After the struggles to get any prints from these negatives I started overexposing in some ocassions. At some point I started overdeveloping to balance the relatively low contrasts I was getting sometimes.


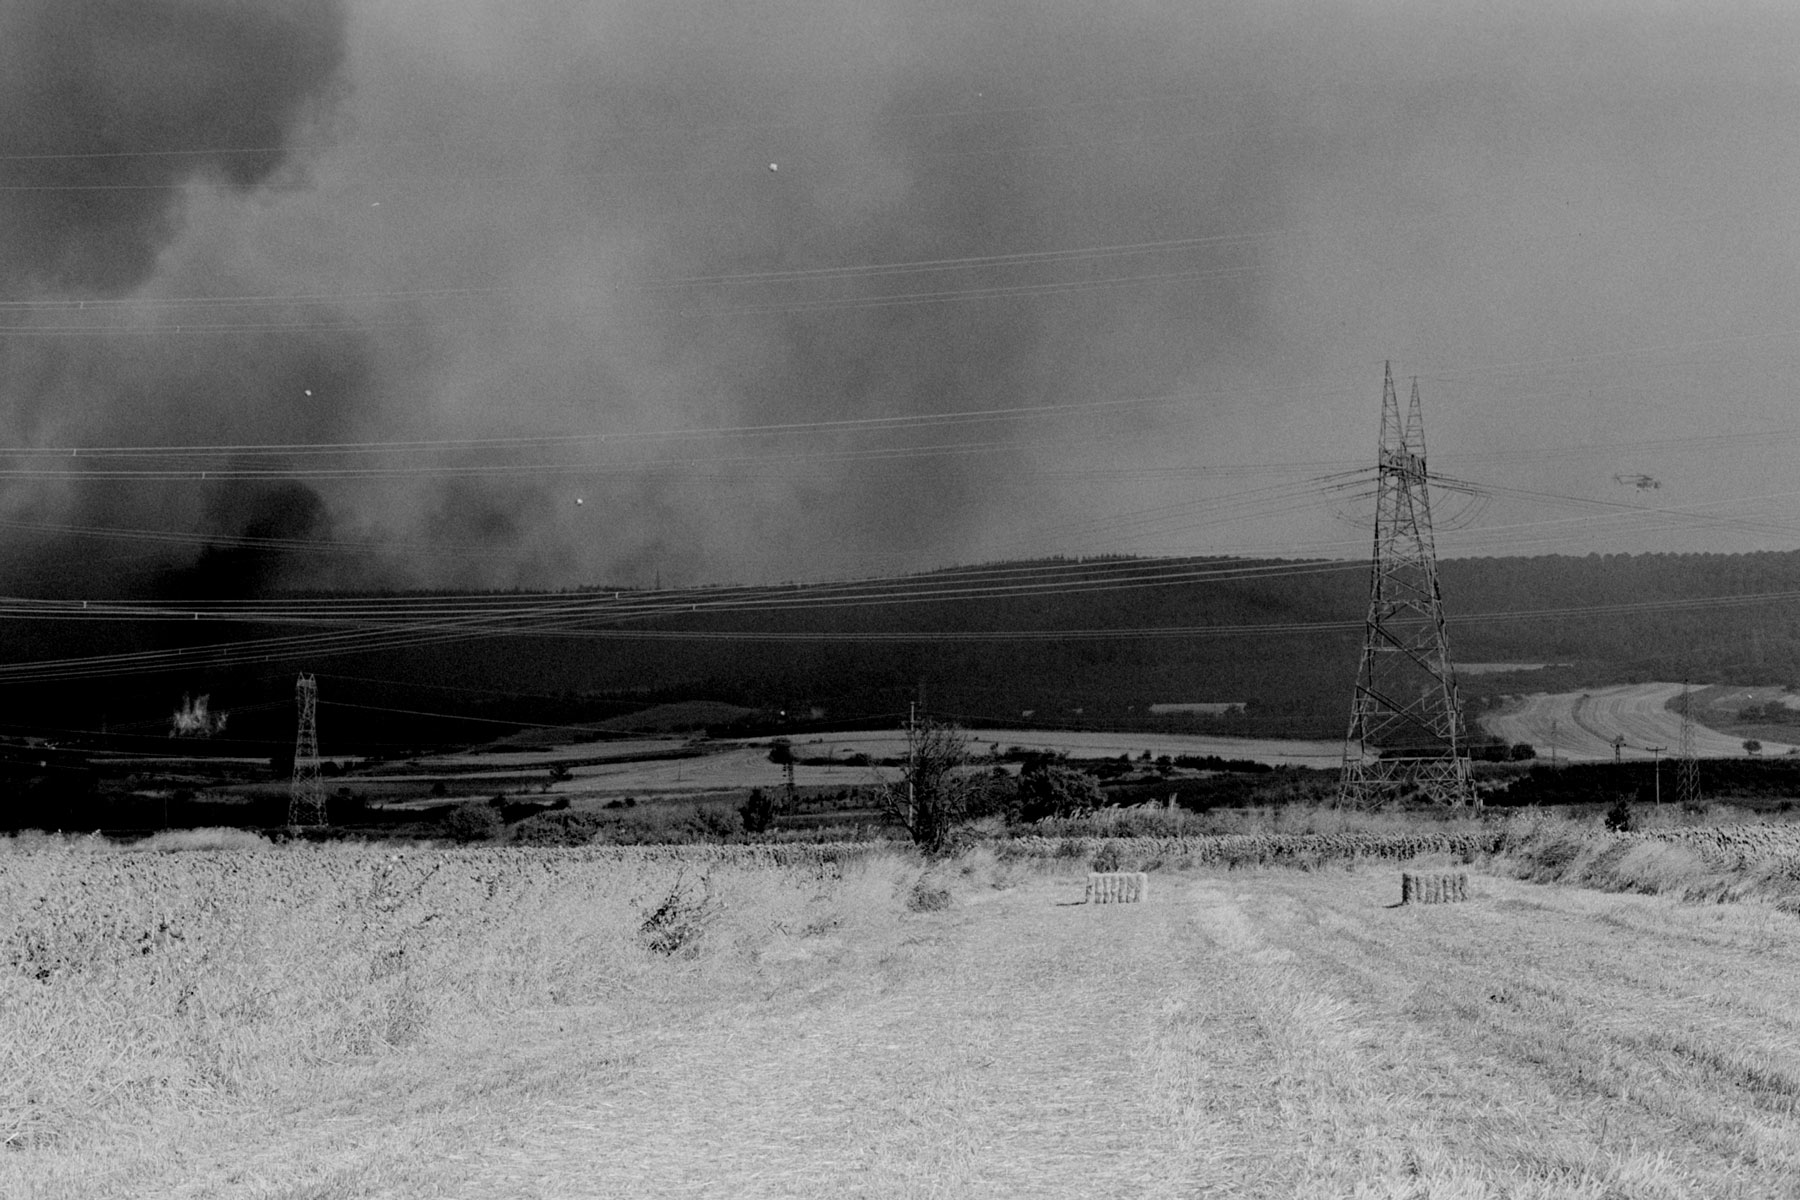
Some of my probably overexposed & overdeveloped negatives.
First stop for better negatives
In the past I’ve responded to thin negatives overexposing when there was enough light. But when in other scenarios I had to chose between a shaken image or -maybe- underexposing I used to choose the latter.
The first thing I have to fix was my metering. And the key for this is choosing the right ISO.
We’ve all heard before that the box ISO of films don’t correspond with their real ISO. I wasn’t keen to start this process by making assumptions, so it was time to get to business. The idea is that we should figure out which film speed gives us a real zone 1, that is, anything right above black.
I bought a grey card and with consistent lighting I put my Rolleiflex on a tripod, close enough so it covers the whole 6×6 negative. I was careful not to be projecting any shadows on the card, nor have any reflections from other sources. I then focused to infinity.
- Since I was testing Ilford HP5, I took a reading at ISO 400 and wrote it down: average grey (zone 5) was f5.6 at 1s. I’m aware that such low speeds aren’t ideal, but I was using diffused artificial lights since shooting on my balcony was a nightmare of shadows, reflections and changing natural light.
- I first took a shot with the lens cap on: this way I got a negative with base + fog. We’ll call it photo 1.
- I then closed down 4 stops so I shot what should be zone 1 (if box ISO was correct). f8 1/8″. We’ll call it photo 2.
- Since my Rolleiflex doesn’t have any sort of half or third of stops, but the aperture wheel doesn’t have clicks, I shot with the most care choosing somewhere between f8 & f11, at the same speed. That’ll be half a stop darker. We’ll call it photo 3.
- Next, one full stop darker. f11. We’ll call it photo 4.
- Now we go the other way and make it half a stop lighter from zone 1 in photo 2, shooting at an aperture between f5.6 and f8. We’ll call it photo 5.
- Finally, I shot a full aperture lighter than the measured zone 1, shooting at f5.6. This would be an ISO of 200. We’ll call it photo 6.
Thanks to my good friend Juan Sánchez we could use his densitometer and follow what Ansel Adams suggested in The Negative, page 242:
The net density value closest to 0.10 represents the desired Zone 1 exposure, and the corresponding ASA number is the optimum film speed.

| Photo | Net density | Real ISO if Z1 | |
| Base + fog | 1 | 0.17 | n/a |
| Zone 1 | 2 | 0.06 | 400 |
| Z1 -1/2 stop | 3 | 0.03 | 500-600 |
| Z1 -1 stop | 4 | 0.01 | 800 |
| Z1 +1/2 stop | 5 | 0.09 | 250-320 |
| Z1 +1 stop | 6 | 0.16 | 200 |
ISO numbers are set in third of stops, so I’d have to decide between metering at 250 or at 320. I’d probably go for 250, I think it’d be better to overexpose that 1/6 of a stop.
It took me a while to find the sequence of ISO, so I’ll write it here and mark in bold those ISO that are on intervals of 1 stop:
50, 64, 80, 100, 125, 160, 200, 250, 320, 400, 500, 600, 800
Putting it to the test.
I knew I couldn’t just trust blindly that apparently magical 0.10 net density number. So I decided to go into the darkroom and run some tests there. This happened to be a bigger challenge that I anticipated. The logic is as follows: photo 5 with its 250-320 ISO should be the real zone 1, that is, the first one that has some information over pure black.
- I first had to print the negative of photo 1 –just base + fog– and figure out which minimum time would give me pure black. That is, with my developer and my enlarger at a certain height, aperture and contrast filter of 2.
- Then I’d do a print with that same time of the other negatives. The first one that renders something distinguisable from pure black would be real zone 1, and we’d have found the real iso of the film for my developer, my water and my technique.
On our Durst M670, at 37.4cm of height from the base of the lens, projecting an image of 23x23cm with a lens of 75mm, I did a test print with f16 where the first time was 8″ and the others intervals of +4″:

Forgive the poor quality reproduction. I could see no difference on the sections after 16″ (8″+4+4). That meant that the pure black was achieved somewhere between 16″ and 20″. Then I decided to do a test strip with small intervalls between those two numbers. This turned out to be a mistake: whatever difference could exist between those times in the test strip was absolutely impossible to find due to the small diferences. I basically created a gradient from zone 1 to zone 0. Having another strip with full black (dmax) on top of it didn’t help either.
The way I managed to solve this issue was to do test strips with a single exposure (such as 17″ [8+4+4+1]) and in the same strip a full dmax version (which I accomplished just by adding some longer time). When they were in the same strip it was possible to see the diferences. I concluded that 17″ was the correct time.
I must admit that this was the second time I was trying this experiment: the previous day I incorrectly thought that a shorter time was giving me pure blacks. By giving less time every photo was separating from pure black (even the photo 4 that should be zone 0, which would mean HP5 was minimum ISO 200…). Since this didn’t make any sense, I repeated the test and I realized my mistake.
Next I did a print of each of the negatives in the same fashion: printing the 17″ and then covering half of it and giving to the other half of the strip a longer time to have a pure black in the same strip, which makes it way easier to compare.

You’ll have to trust me with this, but this is the strip that I could see a split between pure black and the other half.
Was our densitometer test correct?
You’ll be happy to hear that my practical printing test matched what the densitometer experiment has told us. In my case, with my water, developing technique and developer, I got an ISO between 250 and 320 for Ilford HP5 film. I’m not even mentioning which developer I used because we all have to do this test on our own, and I don’t want anyone exposing their negatives incorrectly or going to shout at Ilford.